Friday, 4 October 2013

Granola

We can't keep this stuff in the house long enough! So delicious.  I love mine with yogurt.  Cole has his with almond milk.  Great base for your own creation.

makes 7 cups

Ingredients:

4 cups old fashioned oats
1 1/2 cups chopped or slivered almonds
1/4 cup brown sugar (I'm sure coconut sugar would work really well here)
1/2 tsp salt
1/2 tsp cinnamon
1/3 cup vegetable oil
1/3 cup honey
1 tsp vanilla
1 1/2 cups craisins
1 cup shredded coconut

Directions:


Preheat oven to 300

In a bowl, mix the oats, almonds, brown sugar, salt, and cinnamon.  In a saucepan on the stove, or in a bowl in the microwave, warm the oil and honey then add the vanilla.

Carefully pour the liquid over the oat mixture.  Stir gently with a wooden spoon.  Spread granola on a big baking sheet

Bake 40 minutes, stirring carefully every 10 minutes.  Let cool then stir in craisins and coconut.  Store in airtight container or ziplock bag.  Store at room temp for 1 week (if it lasts that long...)

Note: if you use coconut, be careful not to add it till the end or at the very least, 5-10 minutes before the end.  It will burn and give your granola a slightly bitter taste if it toasts longer than a few minutes...however, in our house it still disappeared just as fast. 

this batch didn't have coconut in it- I have since started adding
it in and it is delicious

Perfect Autumn Quinoa Salad

I was imporovising a gluten free side to dinner for a friend the other night and what I came up with turned out possibly more delicious than the dinner. 

Ingredients:


1 cup uncooked quinoa
1/2 regular onion, diced
1 gala (or similar) apple, diced
handful of chopped green onion
1/2-1 cup nuts (I've tried hazelnuts and almonds in this salad)
handful of craisins
1/4 cup crumbled feta
1/4 cup chopped parsley
1 large lemon
oil

Directions:

In a small pot, boil 1 3/4 cup water with 1 tsp salt then add quinoa, stir, cover with lid and reduce heat to low.  In 15 minutes lift lid, fluff quinoa and cool down to room temp.

In a pan, saute your diced half of an onion with a little salt and pepper and oil until translucent.  Let cool.

In a dry pan on the stove or on a cookie sheet in the oven, toast your nuts.

In a large salad bowl, add cooled quinoa and onion, chopped apple, chopped green onion, toasted nuts, crumbled feta, chopped parsley, handful of craisins and squeeze lemon over everything, add a drizzle of oil and toss.  Taste and add more salt/pepper to taste. 


Homemade Refried Black Beans (Slow Cooker Prep)

I love refried beans...especially black.  I hate cooking dried beans the old fashioned way in a pot.  Enter slow cooker.  Now I make these all the time and freeze them for lunch and dinner.  My whole family loves them.  My husband (who is a self proclaimed refried bean hater) repeatedly steals bites from my bowl and spreads a heavy layer on his burritos.  Turns out, he hates canned refried beans.  These are clearly NOT canned beans!

Find the prep for cooking dried black beans in the slow cooker HERE. I add some time to the cooking when I am only using them for refried beans because I find a slightly overcooked bean lends itself to being blended easier.  I do 5 hrs on high or 8 hrs of low (often overnight). 

Blend your beans with cooking liquid (doesn't matter how much, it will be cooked out) and put in pan on medium-medium/high heat.  Add salt, chili powder and whatever else you think you'd like your beans to taste like.  You can taste and adjust along the way.  Cook down till you get the consistency you like. 

You know what else I love about these beans? The "fried" part isn't real.  There's no fat!


Jalapeno Cheddar Popovers

During the fall and winter months, I am often making homemade soups.  I love finding new recipes to accomany them.  These jalapeno cheddar popovers are easy, and a lovely addition to any soup night.

Ingredients:
3 eggs
1 cup flour
1 cup whole milk
1 cup shredded sharp cheddar
1/4 cup diced jalapeno
1/2 tsp salt

Directions:
Preheat oven to 400 degrees.  Liberally brush muffin tin with oil and place in oven to get really hot.  Whisk all ingredients together and pour in prepared muffin tin 2/3 full.  Bake 20-25 minutes until tops are risen, firm and golden brown.


Healthy Avocado Salad Dressing

I love that this recipe means that my salad dressing counts as a serving of vegetables.  How often is salad dressing THIS guilt free? Great  for when avocadoes are in abundance.  Would be good on tacos as well.

Ingredients:
1 ripe avocado, peeled and cored
3/4 cup water
2 tbsp sour cream or yogurt
1 tsp lime zest
3-4 tbsp lime juice (fresh)
1/2 tsp cumin
1/4-1/2 tsp chili powder
1/2 tsp salt
1/2 tsp pepper
cayenne for the spicy lovers
2 green onions, chopped
1 clove garlic

Directions:
chop up avocado and add to blender
add rest of ingredients
blend till smooth
taste, readjust seasoning and water


Monday, 30 September 2013

Chicken and Dumplings

I realized I have been completely converted over to the "from scratch" and "no preservatives" cooking.  A bit of a food snob if you will.  I didn't realize how bad it had gotten till I was perusing recipes for dinners and stumbled on an easy, fairly healthy chicken and dumpling recipe (from pinterest) but I debated for way too long over whether I should make it because it called for a can of cream of mushroom soup and Bisquick.  I decided to make it anyways.  Then I went to the store and struggled again.  I stood there and looked at the mushroom soup can and considered making it from scratch.  Did the same thing in front of the Bisquick.  I gave in and bought the ingredients.  Recipe turned out quite well after a little tinkering...even if everything wasn't homemade :P

If you can get the fresh dill, use it! It gives such a lovely background flavour that the dried stuff just doesn't do.  But I've used both.

Yields 4 servings.


Ingredients:

1 cup chopped onion
1 cup chopped carrot
3-4 cloves garlic, grated/minced
1/4 c apple juice (or sherry or white wine if you have that in your house)
1/2 tsp salt
1/2 tsp pepper
good pinch of dill and thyme
1-2 cans of chicken broth (I used one condensed can of broth and then 1 1/2 cups of stock in a box- worked fine)
1 can condensed mushroom soup (gulp)
4 chicken thighs (or some version of this)
1  cup peas
1/4 cup water
2 tbsp cornstarch
1 c bisquick (oh dear)
1/3 c milk
1/4-1/2 c parsley

Directions:

-saute chopped onion and carrots for 5-7 minutes in a big soup pot or a dutch oven
-grate garlic over pot and saute for another minute or so
-deglaze with 1/4 cup of apple juice or sherry
-add salt, pepper, thyme and dill
-add chicken broth + 1 cup of water
-add 1 can of mushroom soup
-bring to boil and then add your chicken thighs and simmer for 30 minutes
-take chicken out and shred or chop up into bite sized pieces, return to pot
-add 1/4 cup of water with 3 tbsp of cornstarch dissolved in it
-stir well
-bring to gentle boil again
-mix bisquick and milk and add 1/4 cup parsley (finely chopped)...some extra fresh dill or chives or even scallions is a nice addition as well
-drop biscuit mixtures into liquid (makes 12 smallish dumplings or they won't cook through properly)
-simmer for 20 minutes then put lid on and simmer for another 10 (to let steam cook the dumplings all the way through)
-make sure to stir every so often throughout so bottom doesn't burn
-taste and decide if it's too concentrated or if it needs to reduce more to get a richer flavour or if you need more seasoning
-if you add more water, let it reduce a bit so you still get a nice thick consistency (sort of like gravy)

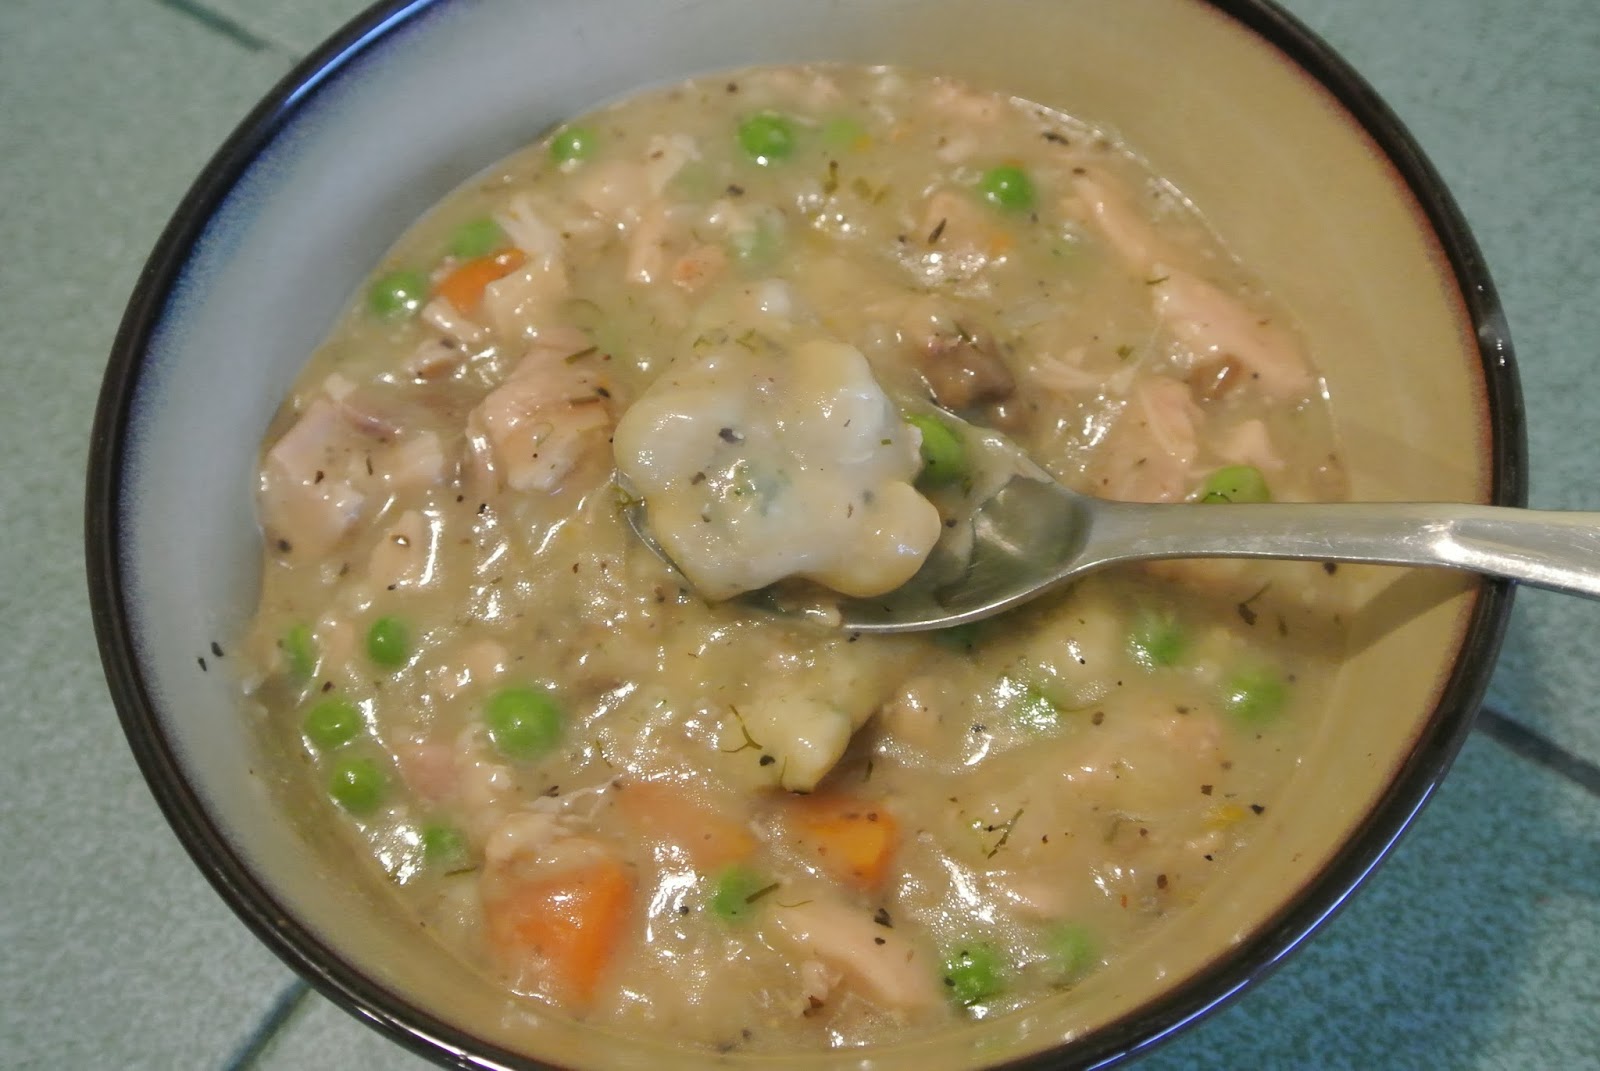
It doesn't photograph well but trust me....
it's what you want to be eating on a cold, rainy day!

Monday, 16 September 2013

Chocolate Raspberry Layer Cake

My daughter had her second birthday last week so obviously cake was in order.  I chose to make this raspberry chocolate layer cake.  I got my inspiration from this RECIPE but changed it to work for me.  I was a tad lame and used a box cake mix.  I just didn't think I'd have the time with a 3 month old and a 2 year old in the house.  I decided to try out a Pinterest pin I had seen about making box cake taste like it came from a bakery.  So I used a box cake called something like Fudgey Chocolate.  I added 5 eggs when it called for 3; I switched out whole milk for the water; I used melted butter instead of oil and I meant to add vanilla but I forgot.  When I tasted it I thought it could have used the vanilla, too.  So add 2 tsp.  It was much more impressive than regular box mix and I'd do it again....but only if I'm lacking time for making it from scratch. 

Below find my version of the recipe above.  It turned out delicious and everyone loved it, kids and adults.  I consider myself more of a cook than a baker so it's fun to tackle these bigger baking projects.  I'm still completely a novice when it comes to decoration and presentation BUT I have a decent handle on taste. So you can trust if you follow the recipe your cake will be delicious.  I just can't help with decoration tips....

I forgot to take a picture of the inside.  It had 3 filled layers (I cut the 2 round cakes in half so I had 4 pieces of cake).  2 creamy raspberry layers that looked like the ones from the recipe above and 1 layer that was kind of like raspberry jam that sat in the middle.


Chocolate Raspberry Layer Cake with Chocolate Cream Cheese Icing


box of fudgey chocolate cake mix or a recipe for your favourite chocolate cake
1 bag of frozen raspberries
1 lemon
cornstarch
1/3 c white sugar
3 tbsp flour
6 tbsp milk
1/4 tsp salt
9 tbsp butter
5 c icing sugar, divided into 2 cups and 3 cups
1 pkg cream cheese
1/3 c butter
1/2 c cocoa
1/4 tsp salt
Optional: fresh raspberries and a bar of chocolate to shave for garnish


1. Bake and cool your cake completely.  I used 2 9" round pans.  Remember to grease and flour your pans so the cake comes out easily.

2. Cook down entire bag of raspberries stirring constantly over medium heat.  Pour and push raspberries through a fine mesh siv to remove seeds.  This is slightly labour intensive.  Just keep running your spoon over the raspberries pushing through the seedless pulp into a bowl.

3. Pour seedless remains back into pot and put back on heat.  Add 1/3 c of sugar and stir till dissolved. In a small bowl, add the juice of half a lemon with a spoonful of cornstarch.  Mix till smooth.  Add to raspberries and stir constantly till thickened.  If it's not as thick as you'd like, add more cornstarch to some water in a bowl and then add to your raspberries.  Never add dry cornstarch to a wet substance, it will clump.  Always add it to a small amount of liquid first.  Once you've achieved the thickness you'd like (thick enough you can spread it on a cake- remember it will thicken a tiny bit more once it cools), put in a container with plastic wrap right on top of the raspberry filling to avoid that chewy skin that can develop (like with pudding).  Into the fridge it goes.  This is your middle raspberry filling.

4.  In another pot, combine 3 tbsp milk with 6 tbsp milk and cook over medium heat stirring constantly till thick.  Remove and let cool.

5.  Cream together the 9 tbsp butter with 2 c icing sugar.  Mix in cooled thick milk and 1/4 tsp salt and then start adding in your cooled raspberry filling from the fridge until you achieve a nice raspberry taste.  Put both raspberry fillings in fridge till ready to assemble your cake.

6.  To make the chocolate frosting, cream together the cream cheese, 1/3 c butter, cocoa, 3 c of icing sugar and salt. 

6.  When ready to assemble the cake, cut the two cakes into four very carefully by making a horizontal cut through the middle of each cake. When you have different coloured filling from your icing in a filled cake, you want to avoid the fillings spilling out to the icing so spread or pipe some of your icing on the very outside of the inside of all your layers to create a barrier for your filling.  On the bottom layer spread half your creamy filling inside your icing barrier.

See the pictures in this recipe if you are confused about the icing barrier.  Look at the pictures of the filling: http://www.beantownbaker.com/2010/04/lemon-raspberry-layer-cake.html.  (This is the inspiration for my next cake baking endeavour).

Top the filling with cake and then on that piece will be the non creamy raspberry filling- all of it.  Top that with cake and then fill that layer with the rest of your creamy raspberry mixture.  Top that with cake and then ice the whole thing with your cream cheese frosting.  You can youtube demos on successfully icing cakes if you don't do this often and need some tips.  Garnish however you please.  Keep cake in fridge until an hour or 2 before you want to eat it.

To clarify since I don't have a picture of the inside: cake, creamy filling, cake, non creamy/jammy kind of filling, cake, creamy filling, cake.

ENJOY